

Want a beautiful, green lawn without the long wait of seeding? Installing sod is the answer! preparing your soil to watering your new lawn, ensuring a successful sod installation that will have your yard looking fantastic in no time.
Why Choose Sod? The Instant Lawn Advantage
Sod offers a multitude of advantages over traditional seeding methods. The most obvious benefit is instant gratification – you get a fully established, green lawn in a matter of hours, not months! Sod also provides immediate erosion control, preventing soil runoff during heavy rains. Plus, you can start enjoying your lawn much sooner, perfect for families and pets eager to play outdoors. Sod is more reliable than seeding. It doesn’t rely on favorable weather conditions or worry about birds eating seeds. It simply needs the proper foundation to grow.
This guide will walk you through every step.
Step 1: Testing and Preparing Your Soil
The foundation of a healthy lawn is healthy soil. Investing time in soil preparation is critical for successful sod installation.
Soil Testing: Know Your Ground
Before you even think about laying sod, get your soil tested. This will reveal the pH level and nutrient content of your soil. You can purchase a DIY soil testing kit at most garden centers, or for more accurate results, send a sample to a professional soil testing lab. This information will guide you on what amendments, like lime or fertilizer, you need to add to create the ideal growing environment for your new sod.
Clearing the Area: Start with a Clean Slate
Remove all existing vegetation, rocks, and debris from the area where you’ll be laying sod. This includes old grass, weeds, and any other unwanted materials. You can use a sod cutter to remove the existing grass, making the job easier.
Grading for Proper Drainage: Preventing Water Woes
Proper grading is crucial for preventing drainage problems and ensuring a healthy lawn. The soil should slope gently away from your house to allow water to flow away from the foundation. Fill in any low spots and level out any bumps to create a smooth, even surface. This will also ensure that your sod makes good contact with the soil.
Step 2: Choosing the Right Sod for Your Climate and Lifestyle
Not all sod is created equal! Selecting the right sod variety for your climate, sunlight conditions, and lifestyle is key to a thriving lawn.
Understanding Sod Varieties: Kentucky Bluegrass, Fescue, Bermuda, and More
Different sod varieties thrive in different climates. Here are some common types:
- Kentucky Bluegrass: Known for its lush, dark green color and fine texture, Kentucky Bluegrass is a popular choice in cooler, northern climates. It requires plenty of sunlight and regular watering.
- Fescue: Fescue is a more versatile option that tolerates shade and requires less watering than Kentucky Bluegrass. It’s a good choice for transitional climates and areas with partial shade.
- Bermuda: A warm-season grass, Bermuda thrives in hot, sunny climates. It’s known for its durability and ability to withstand heavy foot traffic.
- Zoysia: Another warm-season grass, Zoysia is known for its dense, slow-growing nature, which means less mowing. It’s also relatively drought-tolerant.
Matching Sod to Sunlight: Full Sun vs. Shade Tolerant
Consider the amount of sunlight your lawn receives. Some sod varieties, like Kentucky Bluegrass, require at least six hours of direct sunlight per day. Others, like Fescue, can tolerate partial shade.
Considering Your Lifestyle: High Traffic vs. Low Maintenance
Think about how you’ll be using your lawn. If you have kids and pets who will be playing on the lawn frequently, choose a durable sod variety like Bermuda. If you prefer a low-maintenance lawn, consider Zoysia.
Step 3: Measuring and Ordering Your Sod
Accurate measurements and ordering from a reputable supplier are essential for a smooth sod installation.
Accurate Measurements: Avoiding Waste
Measure the length and width of your lawn in feet. Multiply these numbers to calculate the total square footage. For irregular shapes, divide the area into smaller, more manageable sections and calculate the area of each section separately. Add the areas together to get the total square footage.
Calculating Sod Requirements: Using Online Tools
Most sod suppliers offer online calculators that can help you determine how much sod you need. Simply enter the square footage of your lawn, and the calculator will tell you how many pallets or rolls of sod to order. Always order a little extra (around 5-10%) to account for waste and cuts.
Finding a Reputable Sod Supplier: Quality Matters
Choose a sod supplier who is known for providing high-quality, fresh sod. Ask about their sod harvesting practices and delivery schedule. Freshly cut sod is essential for successful installation. Look for sod that is green, healthy, and free from weeds and pests.
For inquiries or further assistance, feel free to contact us – we’re here to help you achieve the perfect lawn!
Step 4: Installing Your Sod: A Hands-On Guide
Now for the exciting part – laying your new sod!
Watering Before Installation: Hydration is Key
Before you start laying sod, thoroughly water the prepared soil. This will help the sod roots establish quickly.
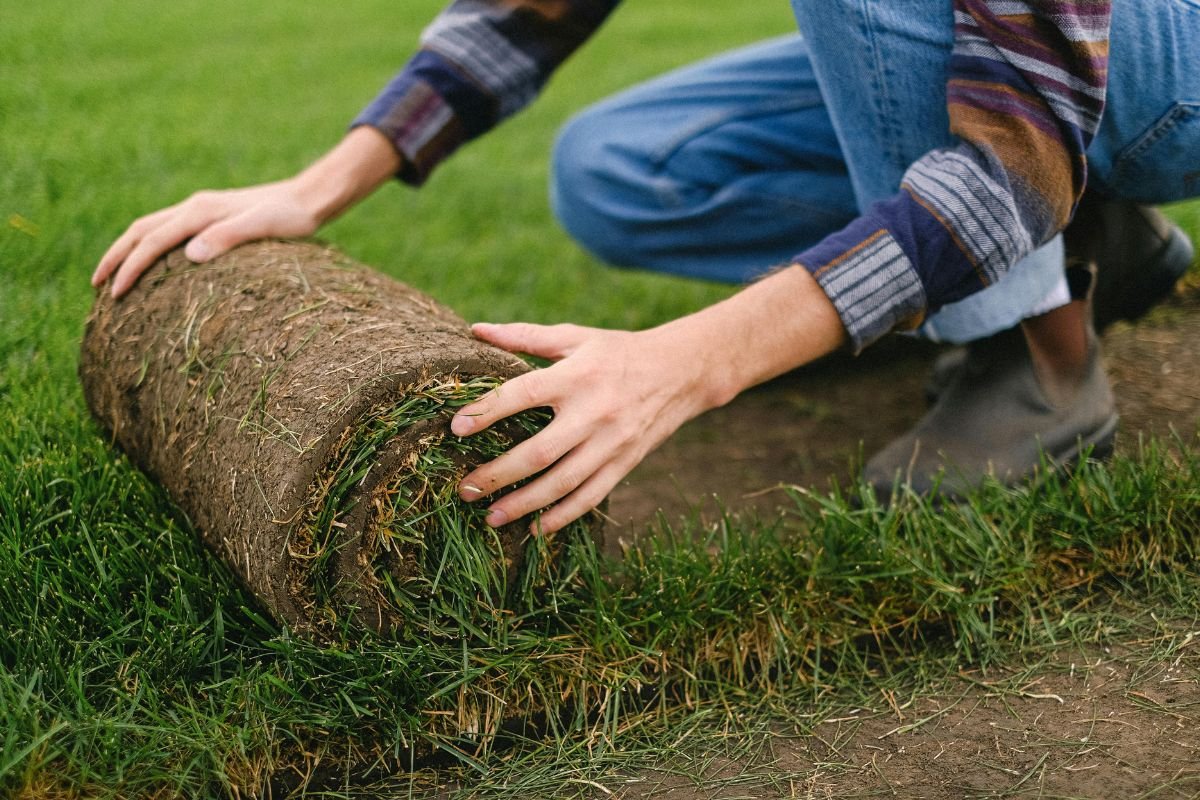
Laying the First Row: Setting the Foundation
Start by laying the first row of sod along a straight edge, such as a sidewalk or driveway. Make sure the sod pieces are tightly butted together, but not overlapping.
Staggering the Seams: Like Brickwork
Stagger the seams of the sod like you would bricks in a wall. This will create a stronger, more uniform lawn and prevent long, unsightly seams.
Cutting and Shaping Sod: For a Perfect Fit
Use a sharp utility knife or sod cutter to cut and shape the sod to fit around obstacles like trees, shrubs, and flowerbeds.
Rolling the Sod: Ensuring Contact with the Soil
Once the sod is laid, use a lawn roller to press the sod firmly into the soil. This will ensure good contact between the sod roots and the soil, which is essential for root establishment.
For expert advice or assistance with your sod installation, call us we’re here to help!
Step 5: Watering and Initial Care
Proper watering is crucial for the first few weeks after sod installation.
The Importance of Immediate Watering: Saturation is Crucial
Immediately after installing the sod, water it thoroughly. The goal is to saturate the sod and the soil underneath. Water until the soil is wet to a depth of at least 4-6 inches.
Watering Schedule for New Sod: Keeping it Moist
For the first two weeks, water the sod daily, or even twice a day in hot, dry weather. The sod should be kept consistently moist, but not soggy. After two weeks, gradually reduce the frequency of watering, but increase the amount of water each time.
Avoiding Foot Traffic: Give it Time to Root
Avoid walking on the new sod as much as possible for the first few weeks. This will allow the roots to establish without being disturbed.
Step 6: Ongoing Lawn Care and Maintenance
Maintaining your new lawn is essential for long-term health and beauty.
Fertilizing Your Sod: Feeding the Roots
Fertilise your new sod about four to six weeks after installation. Use a starter fertilizer that is high in phosphorus to promote root growth.
Mowing Your New Lawn: When and How
Wait until the sod has rooted firmly before mowing it. This usually takes about two to three weeks. When you do mow, set the mower blade to a high setting and avoid removing more than one-third of the grass blade at a time.
Weed Control and Pest Management: Protecting Your Investment
Keep an eye out for weeds and pests. Treat any problems promptly to prevent them from damaging your lawn. Maintenance is very important,
Common Sod Installation Problems and Solutions
Even with careful planning, problems can arise. Here’s how to troubleshoot common issues:
Yellowing Sod: Identifying the Cause
Yellowing sod can be caused by several factors, including overwatering, underwatering, nutrient deficiencies, or disease. Check the moisture level of the soil and adjust your watering schedule accordingly. If the problem persists, have your soil tested to identify any nutrient deficiencies.
Uneven Growth: Addressing Problem Areas
Uneven growth can be caused by variations in soil quality or sunlight exposure. Amend the soil in problem areas to improve drainage and nutrient content. You may also need to prune trees or shrubs to increase sunlight exposure.
Pest and Disease Issues: Early Detection and Treatment
Inspect your lawn regularly for signs of pests or diseases. Treat any problems promptly with appropriate pesticides or fungicides.
Installing sod is a rewarding investment that will transform your yard in no time. By following these steps, you can create a lush, green lawn that you and your family will enjoy for years to come. Remember to choose the right sod variety for your climate and lifestyle, prepare the soil properly, water frequently, and maintain your lawn with regular fertilization, mowing, and weed control.
Frequently Asked Questions About Sod Installation
How long does it take for sod to root?
Typically, sod takes about two to three weeks to root firmly.
How often should I water new sod?
Water new sod daily, or even twice a day in hot, dry weather, for the first two weeks.
Can I install sod in the winter?
Sod installation is best done in the spring or fall when temperatures are moderate. However, you can install sod in the winter as long as the ground is not frozen.
How much does sod installation cost?
The cost of sod installation varies depending on the size of your lawn, the type of sod you choose, and whether you hire a professional installer.
What is the best time of year to install sod?
The best time of year to install sod is in the spring or fall, when temperatures are moderate and there is plenty of rainfall.
How do I prevent weeds in my new sod?
Prevent weeds by preparing the soil properly, using high-quality sod, and maintaining your lawn with regular fertilization, mowing, and weed control.
Need help with your sod installation? Call us we’re ready to assist you!